IMPORTANT: FOLLOW instructions carefully! SAVE
INSTRUCTIONS for clean removal in the future!
To Apply:
1. Select Location
Choose a location where strips are not over grout lines if possible. CAUTION: Place base in accessible position for removal by ensuring tabs can stretch at least 15 inches upon removal.
2. Clean and Dry Surface

Thoroughly clean surface with isopropyl rubbing alcohol to remove all soap, shampoo and cleaner residue. Wipe surface completely dry. DO NOT use household cleaners.
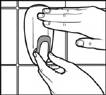
3. Apply Strips
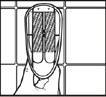
Two strips will go on mounting piece. Separate strips. Remove red Command Strips liners. Align square end of strip with solid line on top of mounting piece, placing one strip on each side of dotted lines. Press firmly. Repeat with other strip. Remove black “wall side” liner. Make sure round tabs are at bottom of mounting piece.
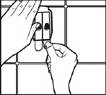
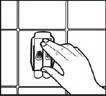
4. Position and Press
Position and press entire base firmly
against surface for 5 seconds.
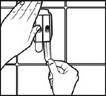
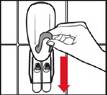
5. Remove Base

Slide base up to remove from mounting piece.
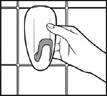
6. Press Firmly!
Firmly
press mounting piece along length of each strip for at least 30 seconds.
7. Wait 1 hour to allow adhesive to bond

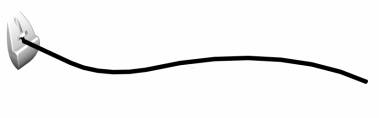
8. Place extension piece into T-shaped hole of Base and gently pull forward until piece can no longer move
9. Slide Base with inserted extension piece back unto mounting piece until snaps into place
10. On Position
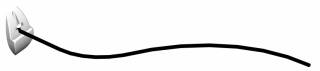
When using the product, hold onto the base and pull the extension piece down so that it may rest on the support of the base. Gently pull on the extension piece so that it may extract to its full length.
11. Off Position
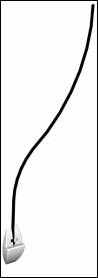
When not using the product, hold onto the base and gently place the extension piece in the up position so that it may snap into the groove.